Leveling Up Our Designs with Figma's Prototyping Tools
Our team has been working in Figma to design our websites for several years now, but until recently we rarely took advantage of the prototyping tools to showcase animations within our designs. While we utilized Figma to show hover states, user paths, and sometimes a sticky header, we primarily just described our animations to clients and developers through notes and examples, and on occasion used After Effects to illustrate more complex animations.
I stumbled across this tutorial a few years ago and it completely changed how our team understood and thought about animation. There was now this perfect storm where Figma’s animation features seemed to be more seamless, and the idea of adding animations to our prototype on delay or scroll finally “clicked” for us, and it opened up this world of potential for our designs.
We have since added animation into nearly every design prototype we’ve produced in the last two years.. It not only helps the designs themselves look better, but helps us to better convey our ideas to clients and developers. Here are a few examples we’ve added to our designs recently, ranging from simple to complex:
Embedded Videos with Autoplay and Loop
This is one of the easiest ways to showcase motion in a Figma design, but with nearly every website including ambient video these days, it’s an important one to note!
Figma added in the ability to easily embed videos within a design and have them autoplay and loop sometime in 2022. It’s such a simple feature, but one that has transformed our designs. Our clients are able to quickly see and understand how their masthead or video blocks on a page will look with an ambient video playing and see how their content interacts with it long before we get to the development process.

After Delay Animations
For a bulk of our work, the animations consist of load-in animations for content on a page or masthead elements. Until we found the tutorial mentioned in the intro above, our team had never fully realized how those animations could be integrated into our Figma prototypes. The After Delay trigger helps us to show these load-in animations after a certain amount of time has passed in our designs – so it is extremely helpful for on-load animations.
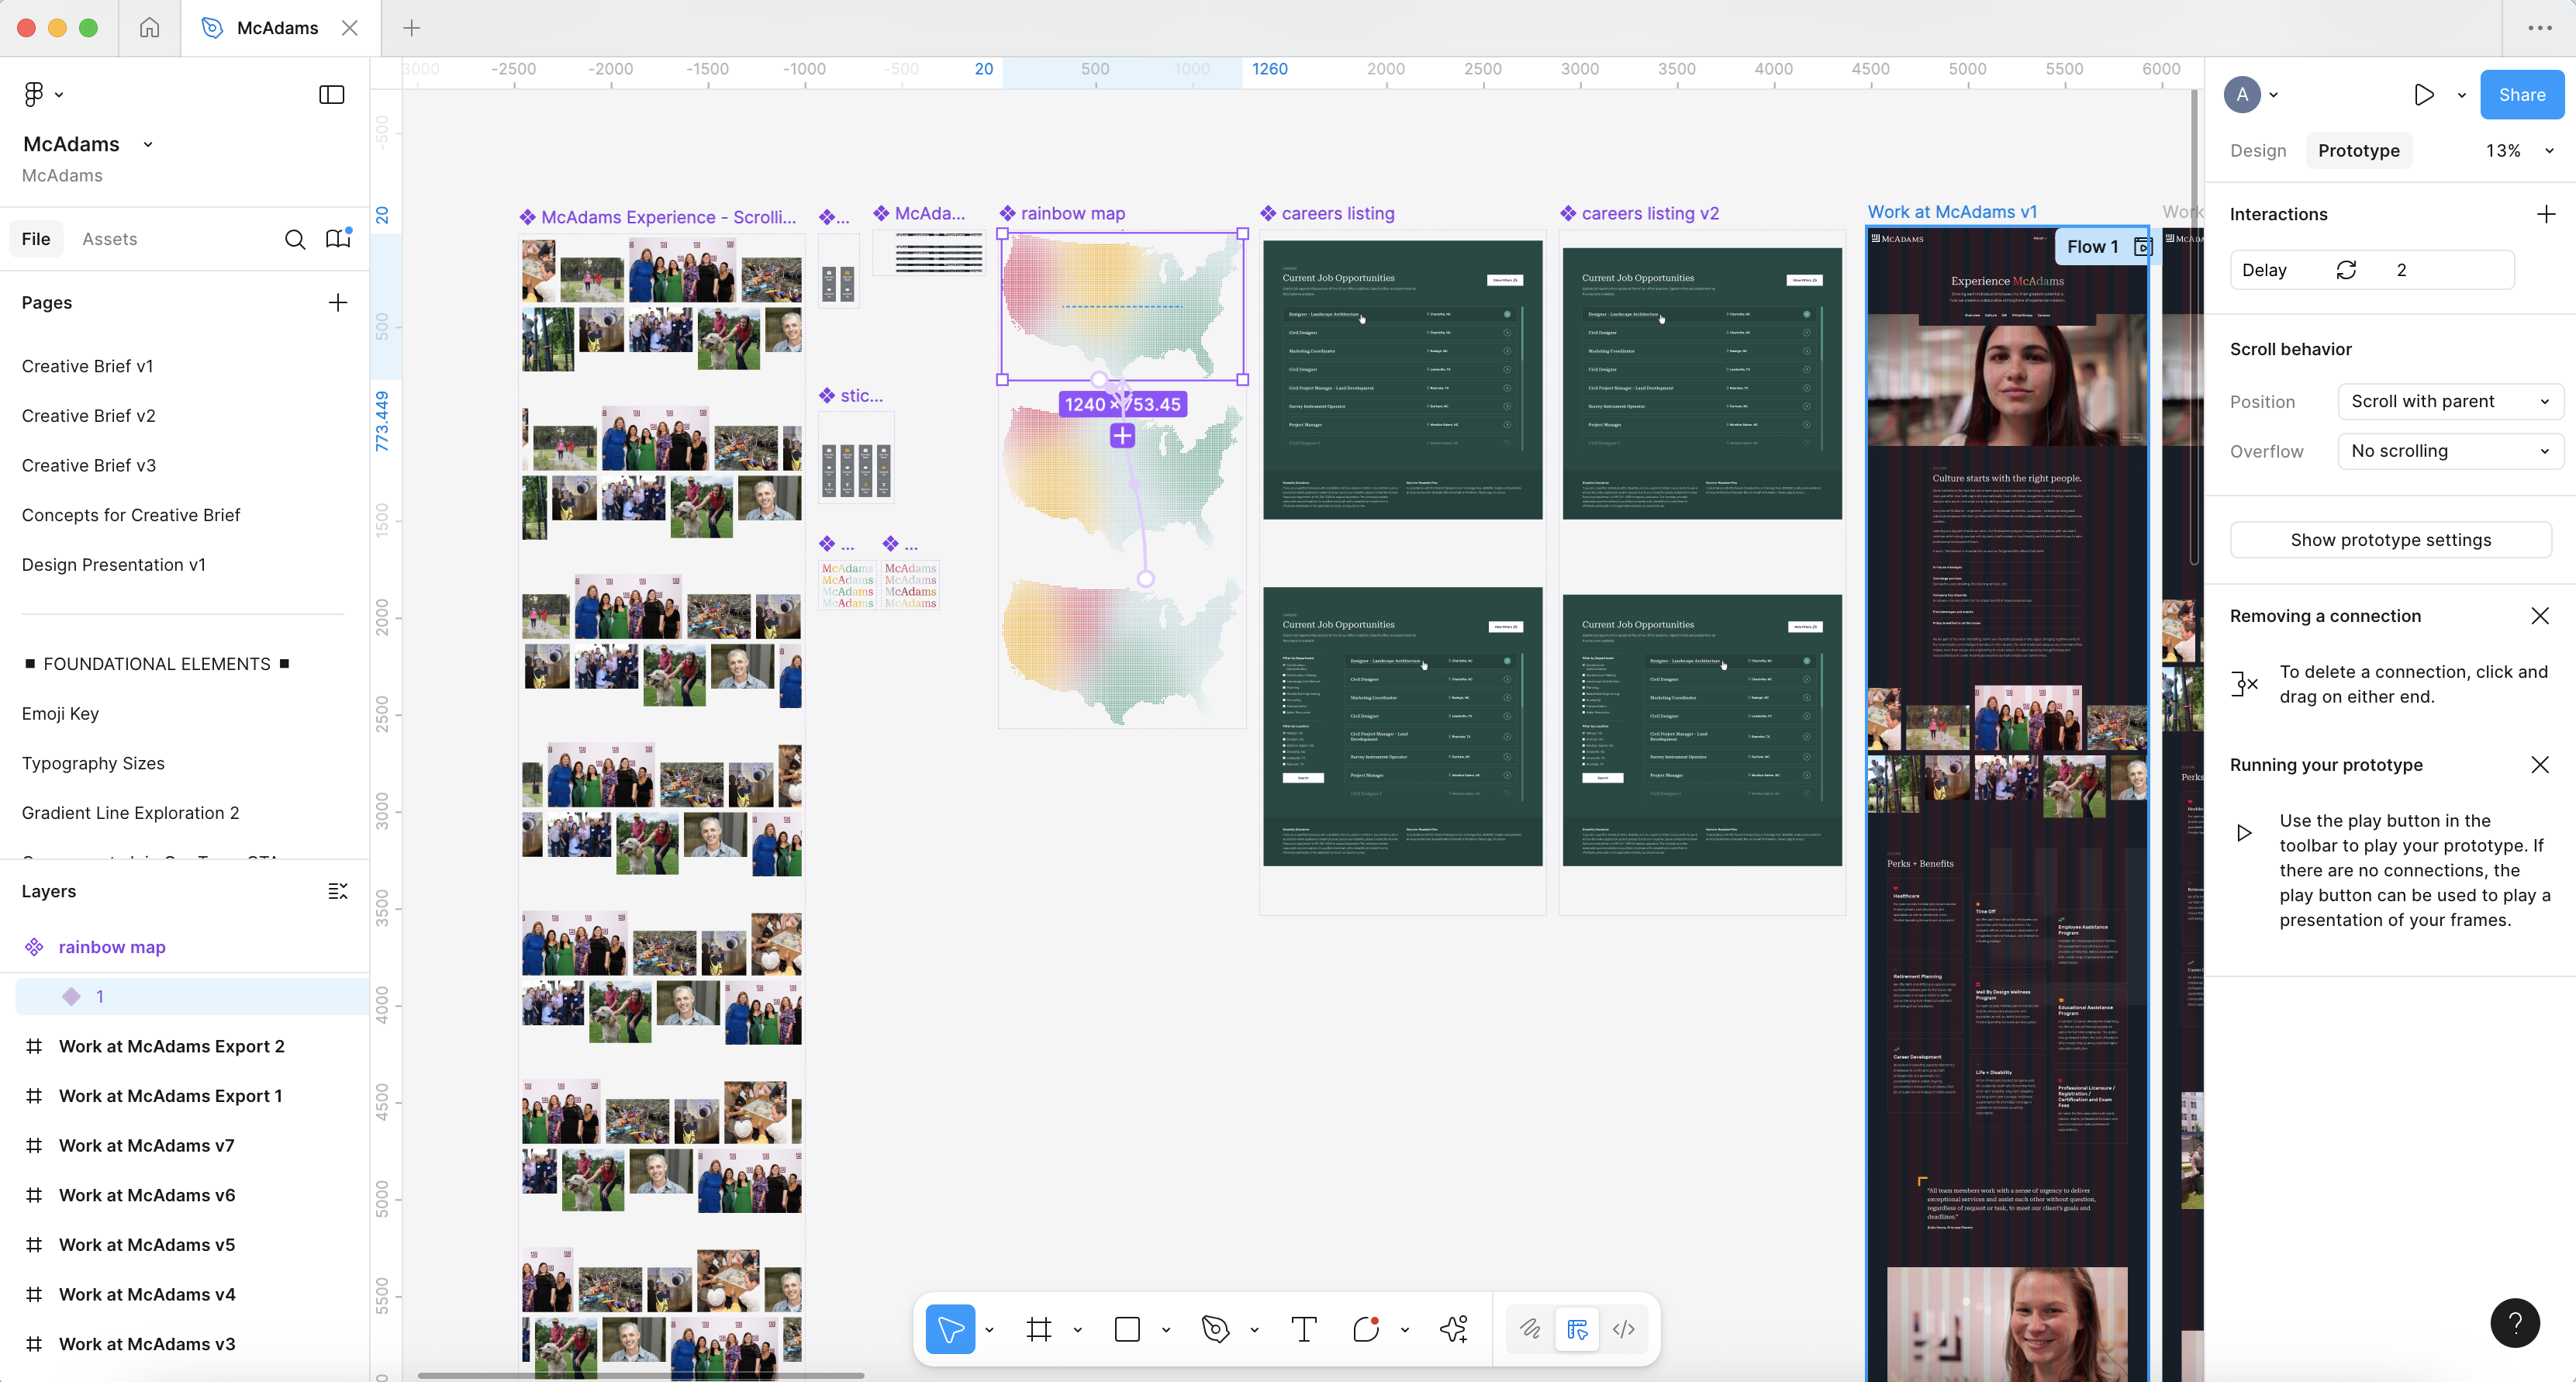
There are many tutorials on this concept, but here is a quick summary of using the After Delay trigger:
- Choose the element in your design you’d like to animate and turn it into a component. For instance, the homepage masthead.
- From there, create variants of that component for each state of the animation you’d like to show. In the case of the homepage masthead, perhaps we’d want to fade in a tagline on page load, so we would create our default variant where the text is at 0% opacity, and a second variant where the text is at 100% opacity.
- We then use Figma’s prototyping tool to create a connection between the two variants. Select the “After Delay” trigger and then either utilize Figma’s Smart Animate or Dissolve effect to animate between the variations. Edit the animation type and timing as needed.
- Place the component in your design and watch your animation come to life in the prototype!
We have utilized this effect from simple to complex animations, ranging from animating an underline beneath text to a moving gradient, to animating in stats or content blocks on a page. No matter the complexity, this effect truly helps to level up our designs and give them that “wow” factor when we are presenting to clients. Below are a few examples of some of the animations we’ve done with this feature:


Using Click Interactions to Provide Context for Content
In addition to making the designs feel more exciting, Figma’s prototyping tools have also been helpful in helping us better convey complex concepts for their content. We frequently highlight how content will change for users on click, by using the “on click” interaction to change between variables of a component.
Sticky scroll
The final tactic we often employ in our Figma prototypes are sticky scroll effects. This helps the user take in a lot of information, without feeling like there is a lot of scrolling or information coming at them at once.
Prior to adding this into our prototypes, the design still showed a long-scrolling section with a lot of empty space that we would need to talk through to clients. Now, by simply making a section sticky once a viewer mouses over that top section of the design, we can better showcase how this content will appear on the web for clients.
Our design process is ever evolving here at NMC as we find new ways to convey our design work within our team and to our clients. If you have any other helpful tips for animating prototypes we’d love to hear them!


Comments
James
This was a great look at how animation tools in Figma can really elevate a design beyond static layouts. I especially liked how the team explained using triggers like After Delay and scroll interactions — it makes prototypes feel so much more alive and helps communicate motion to clients and developers before any code is written, it also reminded me how important visual content is in any creative workflow — even outside UI design. Tools that make it easy to generate engaging visuals (like https://bestphotos.ai) are becoming part of that same push to make design more accessible and expressive without needing advanced skills.Curious — do people find Figma’s built-in animation features enough for more complex motion design, or do you usually switch to dedicated motion tools after prototyping?
Leave a comment