How to create a blog with the Recess PHP Framework, Part 1
This is the first article in my Recess Framework blog tutorial. This tutorial will introduce you to the Recess Framework, a RESTful and open source PHP framework sponsored by New Media Campaigns. You will also learn how to create a fully functional blog with comments, categories, and authors.
I will use Mac OS X and TextMate during this tutorial. However, the Recess Framework will also work on Windows or Linux. Your system should meet these minimum system requirements:
- Apache web server
- PHP 5.2.4 or greater
- SQLite 3
Download and install the Recess Framework
- Download Recess Edge
- Create a web-accessible directory for our blog
- Unzip the Recess Edge download into the blog directory
- View the blog directory in a web browser
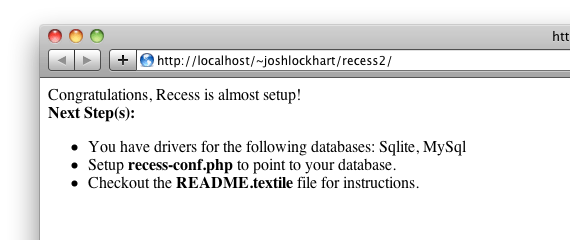
If you see a Congratulations, Recess is almost setup!
message, the Recess Framework has been installed successfully. If you do not see this message, be sure you include index.php at the end of the URL in your web browser. If you still do not see this message, review the installation documentation on the Recess Framework website. From this point forward, the path to the filesystem directory created for this blog will be called the [BLOG_ROOT]; the base URL with which you view this blog in your web browser will be called the [BLOG_URL]. On my machine, the [BLOG_URL] is http://localhost/~joshlockhart/recess/ and the [BLOG_ROOT] is ~/Sites/recess/. These paths will be different if you use Windows or Linux.
Setup the blog database
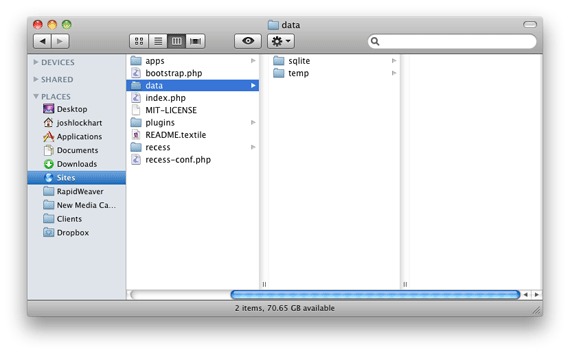
For simplicity, our blog will use a SQLite database. The SQLite database will be created automatically at [BLOG_ROOT]data/sqlite/default.db. First, we need to make several filesystem directories writeable by the web server. You can make these directories writeable with the following commands:
- $ chmod -R 0777 [BLOG_ROOT]data/temp/
- $ chmod -R 0777 [BLOG_ROOT]data/sqlite/
Next, we need to tell Recess to use a SQLite database. Open [BLOG_ROOT]recess-conf.php in a text editor. Uncomment the SQLite item in the RecessConf::$defaultDatabase array. You can delete the MySQL item from this array. The final array should look like this:
RecessConf::$defaultDatabase = array(
    'sqlite:' . $_ENV['dir.bootstrap'] . 'data/sqlite/default.db'
);
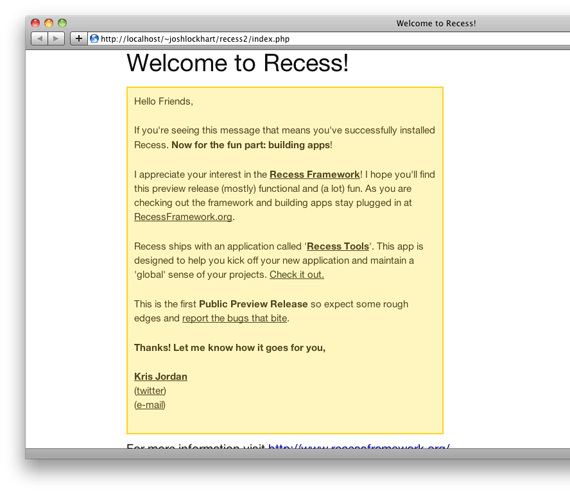
If you refresh your web browser (still viewing [BLOG_URL]index.php) you will see a Welcome to Recess!
message. If you do not see this message, be sure you append index.php
to the URL. The SQLite database file will be created for us at [BLOG_ROOT]data/sqlite/default.db. Make sure this database file is writeable by the web server, too. Finally, run these SQL commands in the SQLite database. These commands create the blog schema and load sample data. If you are unfamiliar with sqlite on the command line, you can download the Firefox SQLite manager extension that provides an easy-to-use GUI inteface.
CREATE TABLE posts (
    id INTEGER PRIMARY KEY,
    title TEXT,
    content TEXT,
    created INTEGER,
    updated INTEGER
);
INSERT INTO posts VALUES (1, 'Adventure Book', 'This is the content of the adventure book', 1254940395, 1254940395);
INSERT INTO posts VALUES (2, 'Romance Book', 'This is the content of the romance book', 1254940395, 1254940395);
INSERT INTO posts VALUES (3, 'History Book', 'This is the content of the history book', 1254940395, 1254940395);
Create the blog application
The Recess Framework supports multiple modular applications, similar to Django. We need to create a new application for our blog and tell Recess to use our application. First, create the necessary directory structure for our blog application:
[BLOG_ROOT]apps/blog/
[BLOG_ROOT]apps/blog/controllers/
[BLOG_ROOT]apps/blog/models/
[BLOG_ROOT]apps/blog/views/
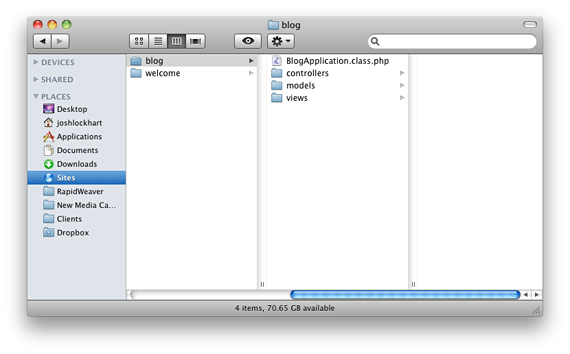
After we create this directory structure, we need to create the blog application configuration file at [BLOG_ROOT]apps/blog/BlogApplication.class.php. There are several important details to note. First, capitalization is important; see how we capitalized the B and the A in BlogApplication
. Next, it is also important that we append .class.php
to the file name. Like Java, this file extension emphasizes the one class per file convention. Open BlogApplication.class.php in a text editor and insert the following code:
<?php
Library::import('recess.framework.Application');

class BlogApplication extends Application {
    public function __construct() {
        $this->name = 'Blog';
        $this->viewsDir = $_ENV['dir.apps'] . 'blog/views/';
        $this->modelsPrefix = 'blog.models.';
        $this->controllersPrefix = 'blog.controllers.';
        $this->routingPrefix = 'blog/';
    }
}
?>
The specific details in this file are not important for this tutorial. Just know that this file is the configuration file for our Recess blog application. Finally, we need to tell Recess to use our blog application. Open [BLOG_ROOT]recess-conf.php in a text editor. We need to append our blog application to the RecessConf::$applications array. Locate this array and insert blog.BlogApplication as a new array item. The final array should look like this:
RecessConf::$applications = array(
    'recess.apps.tools.RecessToolsApplication',
    'welcome.WelcomeApplication',
    'blog.BlogApplication'
);
The initial blog. prefix represents the [BLOG_ROOT]apps/blog/ directory. The BlogApplication suffix represents the BlogApplication.class.php file we created earlier.
Create the Post model
The Post model will interact with the database using Recess’ ORM (Object Relational Mapper). Each record in the posts database table will be mapped to a Post model in our application. First, create [BLOG_ROOT]apps/blog/models/Post.class.php. Open this file in a text editor and insert the following code:
<?php
/**
 * !Table posts
 */
class Post extends Model {}
?>
Recess uses declarative annotations to attach metadata to models, controllers, and controller methods (similar to PHPDoc annotations, but prefixed with ! instead of @). In the Post model above, we use a Recess annotation to declare the database table used by the Post model.
Create the Post controller
The Post controller receives requests, interacts with the Post model, and returns a response. First, create [BLOG_ROOT] apps/blog/controllers/PostsController.class.php. Open this file in a text editor and insert the following code:
<?php
Library::import('recess.framework.controllers.Controller');
Library::import('blog.models.Post');

/**
 * !RespondsWith Layouts
 * !Prefix Routes: /, Views: home/
 */
class PostsController extends Controller {

    //insert actions here

}
?>
Let’s walk through the code line by line.
- Line 2: We import the Controller super class
- Line 3: We import the Post model class
- Line 6: A Recess annotation that declares the View used by the PostsController
- Line 7: A Recess annotation that declares the Routing prefix and View prefix for the PostsController
- Line 9: We instantiate the PostsController class
Listing posts
Let’s create a controller action in PostsController and a view template that list all blog posts:
/** !Route GET, posts */
public function listPosts(){
    $post = new Post();
    $this->posts = $post->all();
}
First we instantiate a new Post object. Next we call $post->all() to retrieve an array of Post records from the database. We store this array in a public class variable, $this->posts. All public class variables in the controller are automatically passed into the view template which we will create next. We also attach a Recess annotation to the PostsController::listPosts() action. This Recess annotation declares the routing information for this action: we can access this action with a GET request to [BLOG_URL]index.php/blog/posts/. We can view the PostsController::listPosts() controller action in a web browser at [BLOG_URL]index.php/blog/posts/. If you view this action in a web browser, you will receive an error because we have not yet created our view template. Let’s do that now.
View templates reside in the [BLOG_ROOT]apps/blog/views/ directory. Since our PostsController’s Views Prefix is home
(declared as a Recess annotation on the controller), our view templates will be created in [BLOG_ROOT]apps/blog/views/home/. Let’s create the template for the PostsController::listPosts() action. Create the file [BLOG_ROOT]apps/blog/views/home/listPosts.html.php. Insert the following HTML markup into this file:
<html>
    <body>
        <h1>Posts</h1>
        <ul>
        <?php foreach( $posts as $post ): ?>
            <li>
                <h2><a href="#"><?php echo $post->title; ?></a></h2>
                <p>Posted on <?php echo strftime("%B %e, %Y", $post->created); ?></p>
                <p><?php echo $post->content; ?></p>
            </li>
        <?php endforeach; ?>
        </ul>
    </body>
</html>
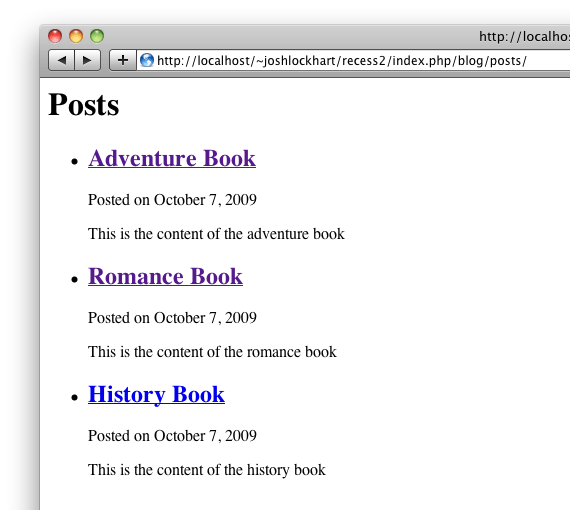
In your web browser, view [BLOG_URL]index.php/blog/posts/. You should see a list of posts. Our view markup loops over the $posts variable (passed from the controller). Columns from the posts database table are available as object methods. You may notice that we did not set the href attribute of the post title link (we will do this next). First, we need to create a new controller method to display a single blog post. Let’s do that now.
Showing a single post
Create a new PostsController action called show:
/** !Route GET, posts/$id */
public function show($id){
    $post = new Post($id);
    $this->post = $post->find()->first();
}
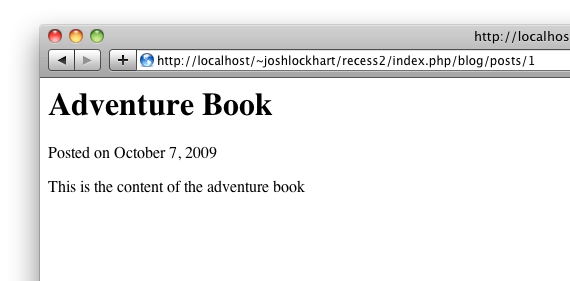
This method uses a Dynamic Route which passes the $id route parameter into the PostsController::show() action. If we access [BLOG_URL]index.php/blog/posts/1, the PostsController::show() action’s first parameter will be equal to 1. We then set a public class variable — $this->post — equal to the first Post whose ID is equal to $id. The $this->post variable will be passed into the view template.
Create the view template file [BLOG_ROOT]apps/blog/views/home/show.html.php and insert this HTML markup:
<html>
    <body>
        <h1><?php echo $post->title; ?></h1>
        <p>Posted on <?php echo strftime("%B %e, %Y", $post->created); ?></p>
        <p><?php echo $post->content; ?></p>
    </body>
</html>
Next, we need to edit [BLOG_ROOT]apps/blog/views/home/listPosts.html.php and set the href attribute of each Post’s title. Update the HTML markup so that it reads:
<html>
    <body>
        <h1>Posts</h1>
        <ul>
            <?php foreach( $posts as $post ): ?>
            <li>
                <h2><a href="<?php echo Url::action('PostsController::show',$post->id); ?>"><?php echo $post->title; ?></a></h2>
                <p>Posted on <?php echo strftime("%B %e, %Y", $post->created); ?></p>
                <p><?php echo $post->content; ?></p>
            </li>
            <?php endforeach; ?>
        </ul>
    </body>
</html>
We are using the Url helper available in our view template. The first parameter of the Url::action() method is a Controller::method pair, or the destination of our hyperlink. The second parameter is the ID of the current Post. The Url::action() helper method creates a URL to the PostsController::show() controller action using the current Post’s ID. View [BLOG_URL]index.php/blog/posts/ in a web browser. You can now click on a post’s title to view the post’s individual page.
Summary
In this article we learned how to install and configure the Recess Framework, how to create a modular Recess application, how to create a model that interacts with a database table, how to create a controller, and how to create a view template. We now have a basic blog that displays a list of posts with links to each post’s individual page. The next article of this series will demonstrate how to create posts, update posts, and delete posts using the Recess Framework ORM. Stay tuned!
Download the final project
This file contains the Recess Framework and all controllers, models, and views for this tutorial.
Download (ZIP, 340 KB)
Related Posts

Comments
Custom Web Application Development
Hi There,
I've been playing with the Recess! PHP Framework recently and I like it
Thanks,
Mick
Me NMC team member
How-to MANUALLY create a blog with the Recess PHP Framework.
Leave a comment